Dashboard
Create and launch your campaign with 4 easy steps:
1- Setup
- Add sender (company name), subject, comments (optional) and sender email (for clients with dedicated servers)
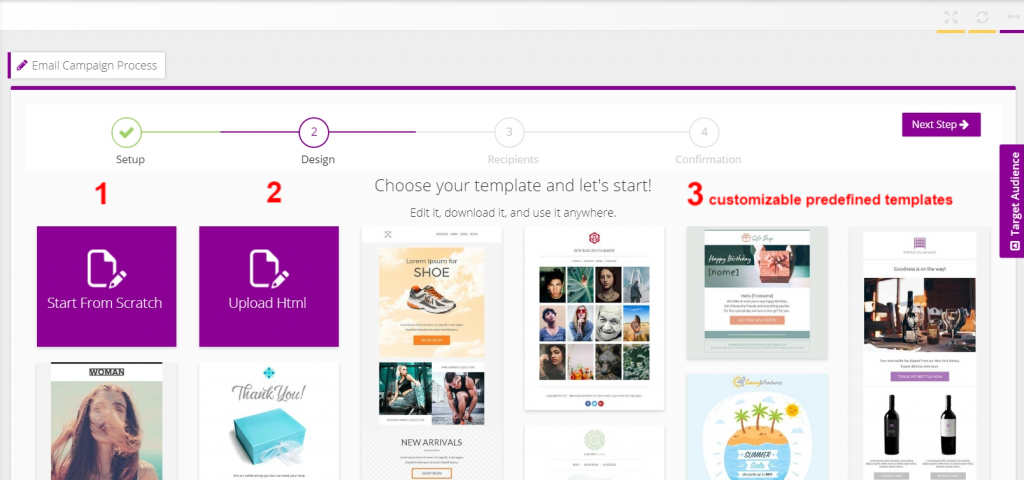
2- Design
- Create and customize your template using one of the below 3 options:
- Start from scratch
- Upload HTML
- Use a predefined template
3- Recipients
- Choose between i-mails contacts lists (client database)
- Create your own potential targeted audience list (using EYEmails categorized database)

EYEmails audience are automatically updated and verified
4- Confirmation
- Review, launch or schedule campaign (date and time) … it’s ready to go
Calendar
Create your email campaign using the top left-hand side form in the calendar page